A Beginner's Guide to Forcing Bulbs Indoors
Trick some tulips, daffodils, or crocus into early bloom, and you'll be enjoying spring months ahead of time.
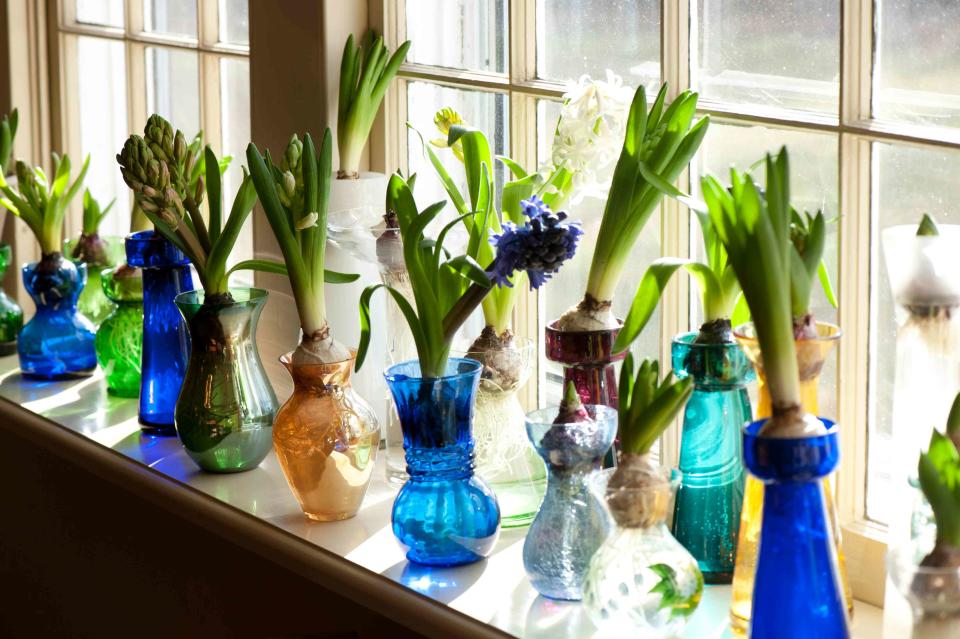
Kindra Clineff
Almost everyone recognizes the daffodil and the tulip. They are superstars of the flower bulb world: the easy-to-grow, can't-get-any-sunnier-in-springtime flowers. But before you rush out to add them to your outdoor garden, consider this: You also can grow bulbs indoors during those not-so-warm months. This technique is known as forcing, and it's a super easy way to fake out your flowers about what season it really is. It involves very little effort and few materials. The biggest exertion? Scheduling their arrival.
How Long to Chill Bulbs
Bulbs that grow indoors need a reminder that they've been through winter—however fake it is. In fact, all bulbs except amaryllis and paperwhites need a cold snap. What makes those two different? They don't get cold at home in their native tropics, so they don't need winter wherever you live. For other flower bulbs, though, you'll have to chill them a little to get them to bloom indoors earlier than they might naturally; just how long depends on the bulb. Follow these general guidelines:
Chill in September, bloom in January
Chill in October, bloom in February
Chill in November, bloom in March
Chill in December, bloom in April
Amaryllis
Chill time: None
Bloom time: 6-8 weeks
Crocus
Chill time: 8-15 weeks
Bloom time: 2-3 weeks to bloom after chilling
Daffodil
Chill time: 2-3 weeks
Bloom time: 2-3 weeks to bloom after chilling
Grape hyacinth
Chill time: 8-15 weeks
Bloom time: 2-3 weeks to bloom after chilling
Hyacinth
Chill time: 12-15 weeks
Bloom time: 2-3 weeks to bloom after chilling
Iris
Chill time: 13-15 weeks
Bloom time: 2-3 weeks to bloom after chilling
Paperwhite
Chill time: None
Bloom time: 3-5 weeks
Snowdrop
Chill time: 15 weeks
Bloom time: 2 weeks to bloom after chilling
Tulip
Chill time: 10-16 weeks
Bloom time: 2-3 weeks to bloom after chilling
How to Force Bulbs in a Pot
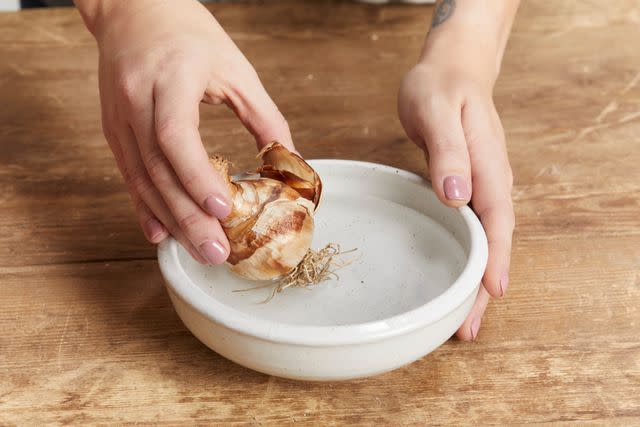
Step 1
Jason Donnelly
Soak the roots of the bulbs in a shallow pan of lukewarm water for a few hours.
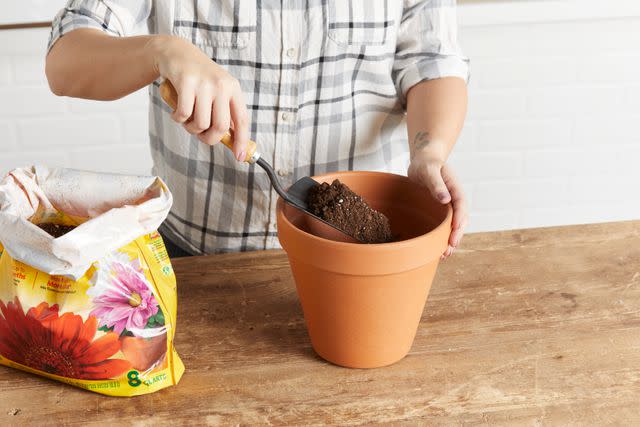
Step 2
Jason Donnelly
Choose a pot deep enough that you have a couple of inches below the bottoms of the bulbs for soil and roots but that is tall enough you can cover the bulbs up to the necks. Fill the bottom of the container with potting soil.
Related: The 13 Best Potting Soils for Indoor and Outdoor Plants
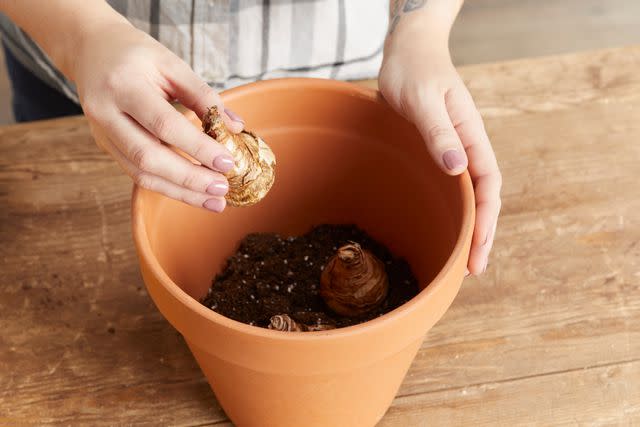
Step 3
Jason Donnelly
Use enough bulbs to fill the container. You can crowd them or give them some air, depending on how densely planted you want your flower display to be.
Step 4
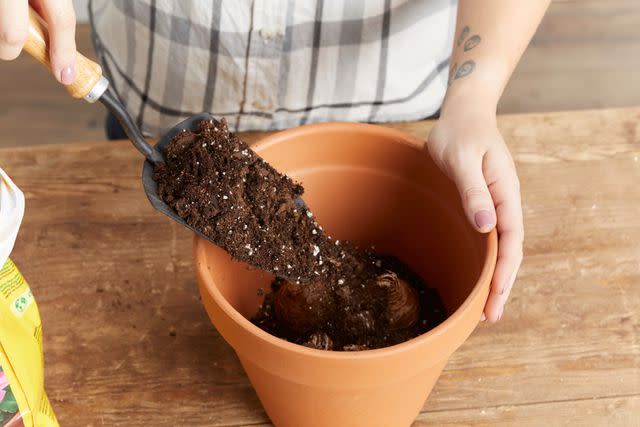
Jason Donnelly
Cover with potting soil just to the necks of the bulbs,
Step 5
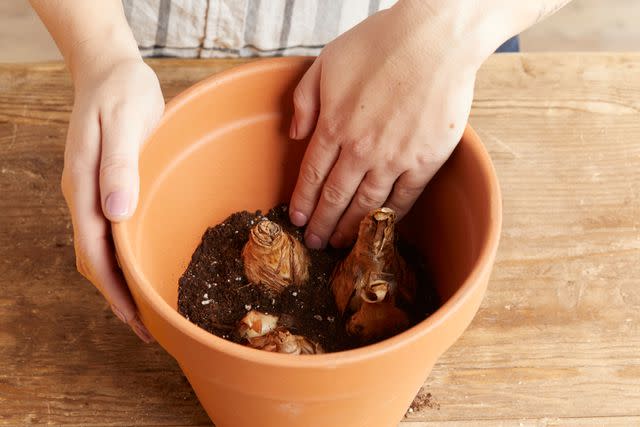
Jason Donnelly
Gently tamp down the soil around the bulbs.
Step 6
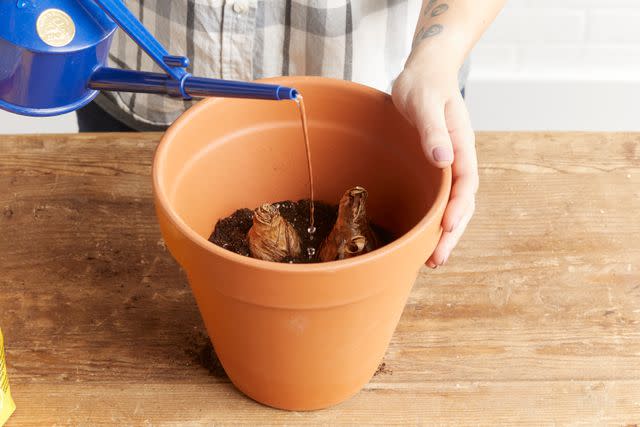
Jason Donnelly
Water until the potting soil is evenly moist and allow excess water to drain out.
Step 7
Chill the whole pot for the recommended time period. The crisper drawer of your refrigerator is just fine for a handful of bulbs. An unheated basement, cold space, or inside a cold frame also works as a cool spot to keep your bulbs. Keep the soil just damp—not wet.
Step 8
Start waking up your bulbs by giving them a few weeks of warmer (but not too warm) temps and some indirect sunlight. Once the bulbs shoot up and are a couple inches tall, give them more sun and a warmer spot.
Some bulbs come pre-chilled. For these bulbs, you don't need to give them a chilling period. Just skip Step 7 when forcing these bulbs into bloom at a particular time indoors.
Related: How to Plant Bulbs in Pots to Add Splashes of Color Anywhere
For more Better Homes & Gardens news, make sure to sign up for our newsletter!
Read the original article on Better Homes & Gardens.