How to disable Windows Recall
Windows Recall is a new AI tool built-in to Windows 11 Copilot+ PCs that remembers everything you do on your computer. It enables the ability to semantically search for anything you've ever seen or done on your PC using natural language, and utilizes the neural processing unit (NPU) to process that information locally on device.
The feature works by taking snapshots of your screen every few seconds and storing them locally on your hard drive. The Windows Recall app consists of a search bar and timeline, which lets you scroll back through all the saved snapshots and can show you what was on your screen at any point.
If you don't want this feature, Microsoft has built-in a quick and easy way to disable it. Here's how to turn off Windows Recall and delete the data it has collected.
How to disable Windows Recall
1. Open Windows Settings (WIN+I)
2. Select "Privacy & Security" in the sidebar.

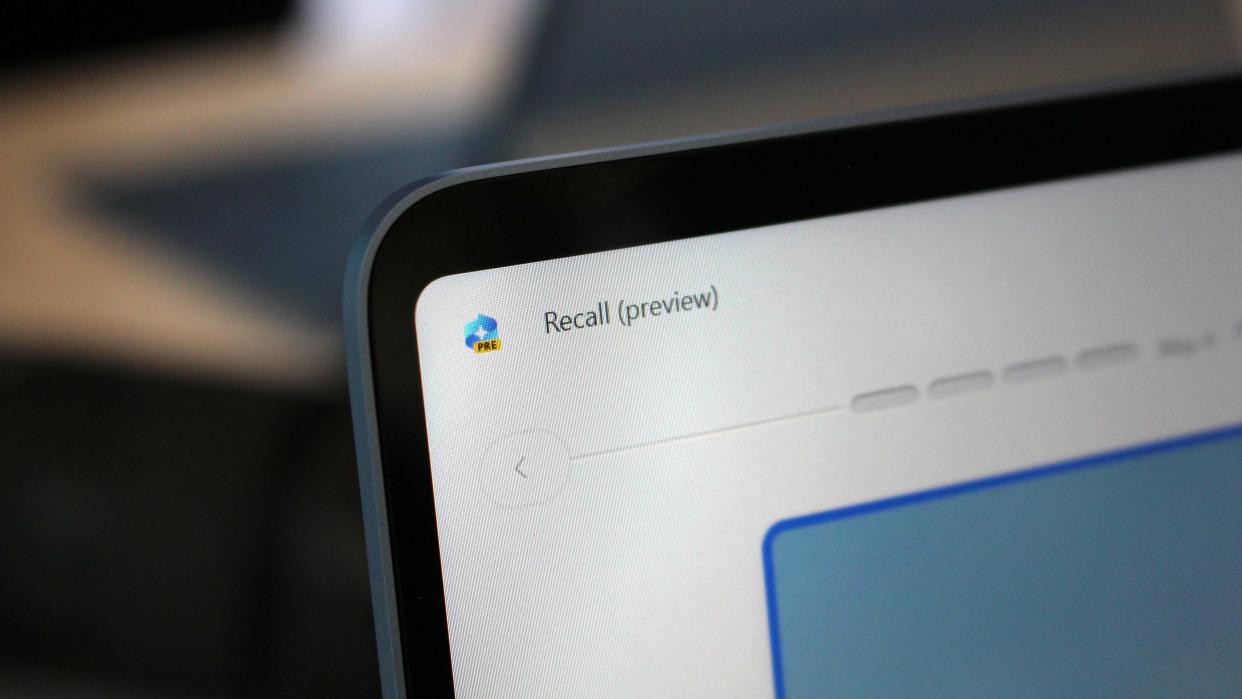
3. Select "Recall & Snapshots."

4. Toggle "Save Snapshots" to off.

5. Select "Delete Snapshots."

6. Select "Delete All."

7. Close Windows Settings.
Does my PC have Windows Recall?
Most Windows PCs will not have access to Windows Recall right now, as the feature requires new hardware shipping under the Copilot+ PC umbrella. A Copilot+ PC is a device that features an NPU that can output at least 40 TOPS of power, along with 16GB RAM, 256GB SSD storage, and 8 logical processors.
If your PC was purchased before June 18, 2024, it does not have Windows Recall. If your PC was purchased after June 18, 2024, it might have Windows Recall depending on if you purchased a Copilot+ PC.
To check, just type "Recall" into the Windows Start Menu. If you see the Recall app, then your PC does have Recall installed and it can be disabled in Windows Settings by following the guide above.
